Conquer Your Kitchen: The Ultimate Guide to Sparkling Stove Burner Caps
Have you ever looked at your stovetop and recoiled in horror? Not at a massive spill, but at the subtle, creeping grime that’s taken over your burner caps? It’s a universal kitchen struggle. Those once-shiny metal guards, now coated in a sticky film of cooked-on food and grease, are a silent testament to countless meals prepared. But fear not, because achieving sparkling clean burner caps is entirely within your reach. This guide will delve deep into the art of burner cap cleaning, transforming your stovetop from a source of mild disgust into a gleaming beacon of culinary pride.
Let’s face it, cleaning burner caps isn’t exactly glamorous. It’s right up there with scrubbing the grout or cleaning the inside of the microwave. But think about it – these little workhorses bear the brunt of every splash, splatter, and boil-over. They deserve some TLC, and a clean stovetop dramatically elevates the entire kitchen aesthetic. Plus, there's the added bonus of improved burner efficiency and eliminating potential fire hazards from built-up grease.
The history of stovetop burner caps is intertwined with the evolution of cooking technology. From early wood-burning stoves to modern gas and electric ranges, these components have always played a crucial role in containing and directing heat. Initially simple metal discs, burner caps have evolved in design and materials to optimize heat distribution and ease of cleaning. However, regardless of the advancements, the fundamental need to keep them clean remains constant.
One of the main issues with cleaning burner caps is the baked-on nature of the grime. Food particles and grease splatter onto the hot metal and quickly carbonize, forming a stubborn layer that resists casual wiping. This build-up can not only look unsightly but can also affect the performance of your burners. Clogged burner ports can lead to uneven flames or reduced heat output, impacting your cooking efficiency.
Understanding the materials of your burner caps is crucial. Most modern stovetops feature caps made of enamel-coated steel, cast iron, or stainless steel. Each material requires a slightly different approach to cleaning. Enamel, for instance, is prone to chipping if scrubbed too aggressively, while cast iron requires seasoning after cleaning to prevent rust. Knowing these nuances will ensure you use the right cleaning methods and products for optimal results.
One significant benefit of regularly cleaning your stovetop burner caps is improved cooking performance. Clogged burner ports restrict gas flow, resulting in uneven flames and reduced heat output. Cleaning ensures optimal gas flow and efficient heat distribution, leading to better cooking results.
A clean stovetop contributes to a healthier kitchen environment. Accumulated grease and food particles can attract pests and harbor bacteria. Regular cleaning eliminates these potential health hazards, promoting a cleaner and more hygienic cooking space.
Finally, clean burner caps enhance the overall appearance of your kitchen. A sparkling stovetop instantly elevates the aesthetic appeal of your cooking space, creating a more pleasant and inviting environment.
Action Plan for Sparkling Burner Caps:
1. Remove the burner caps and grates from the stovetop.
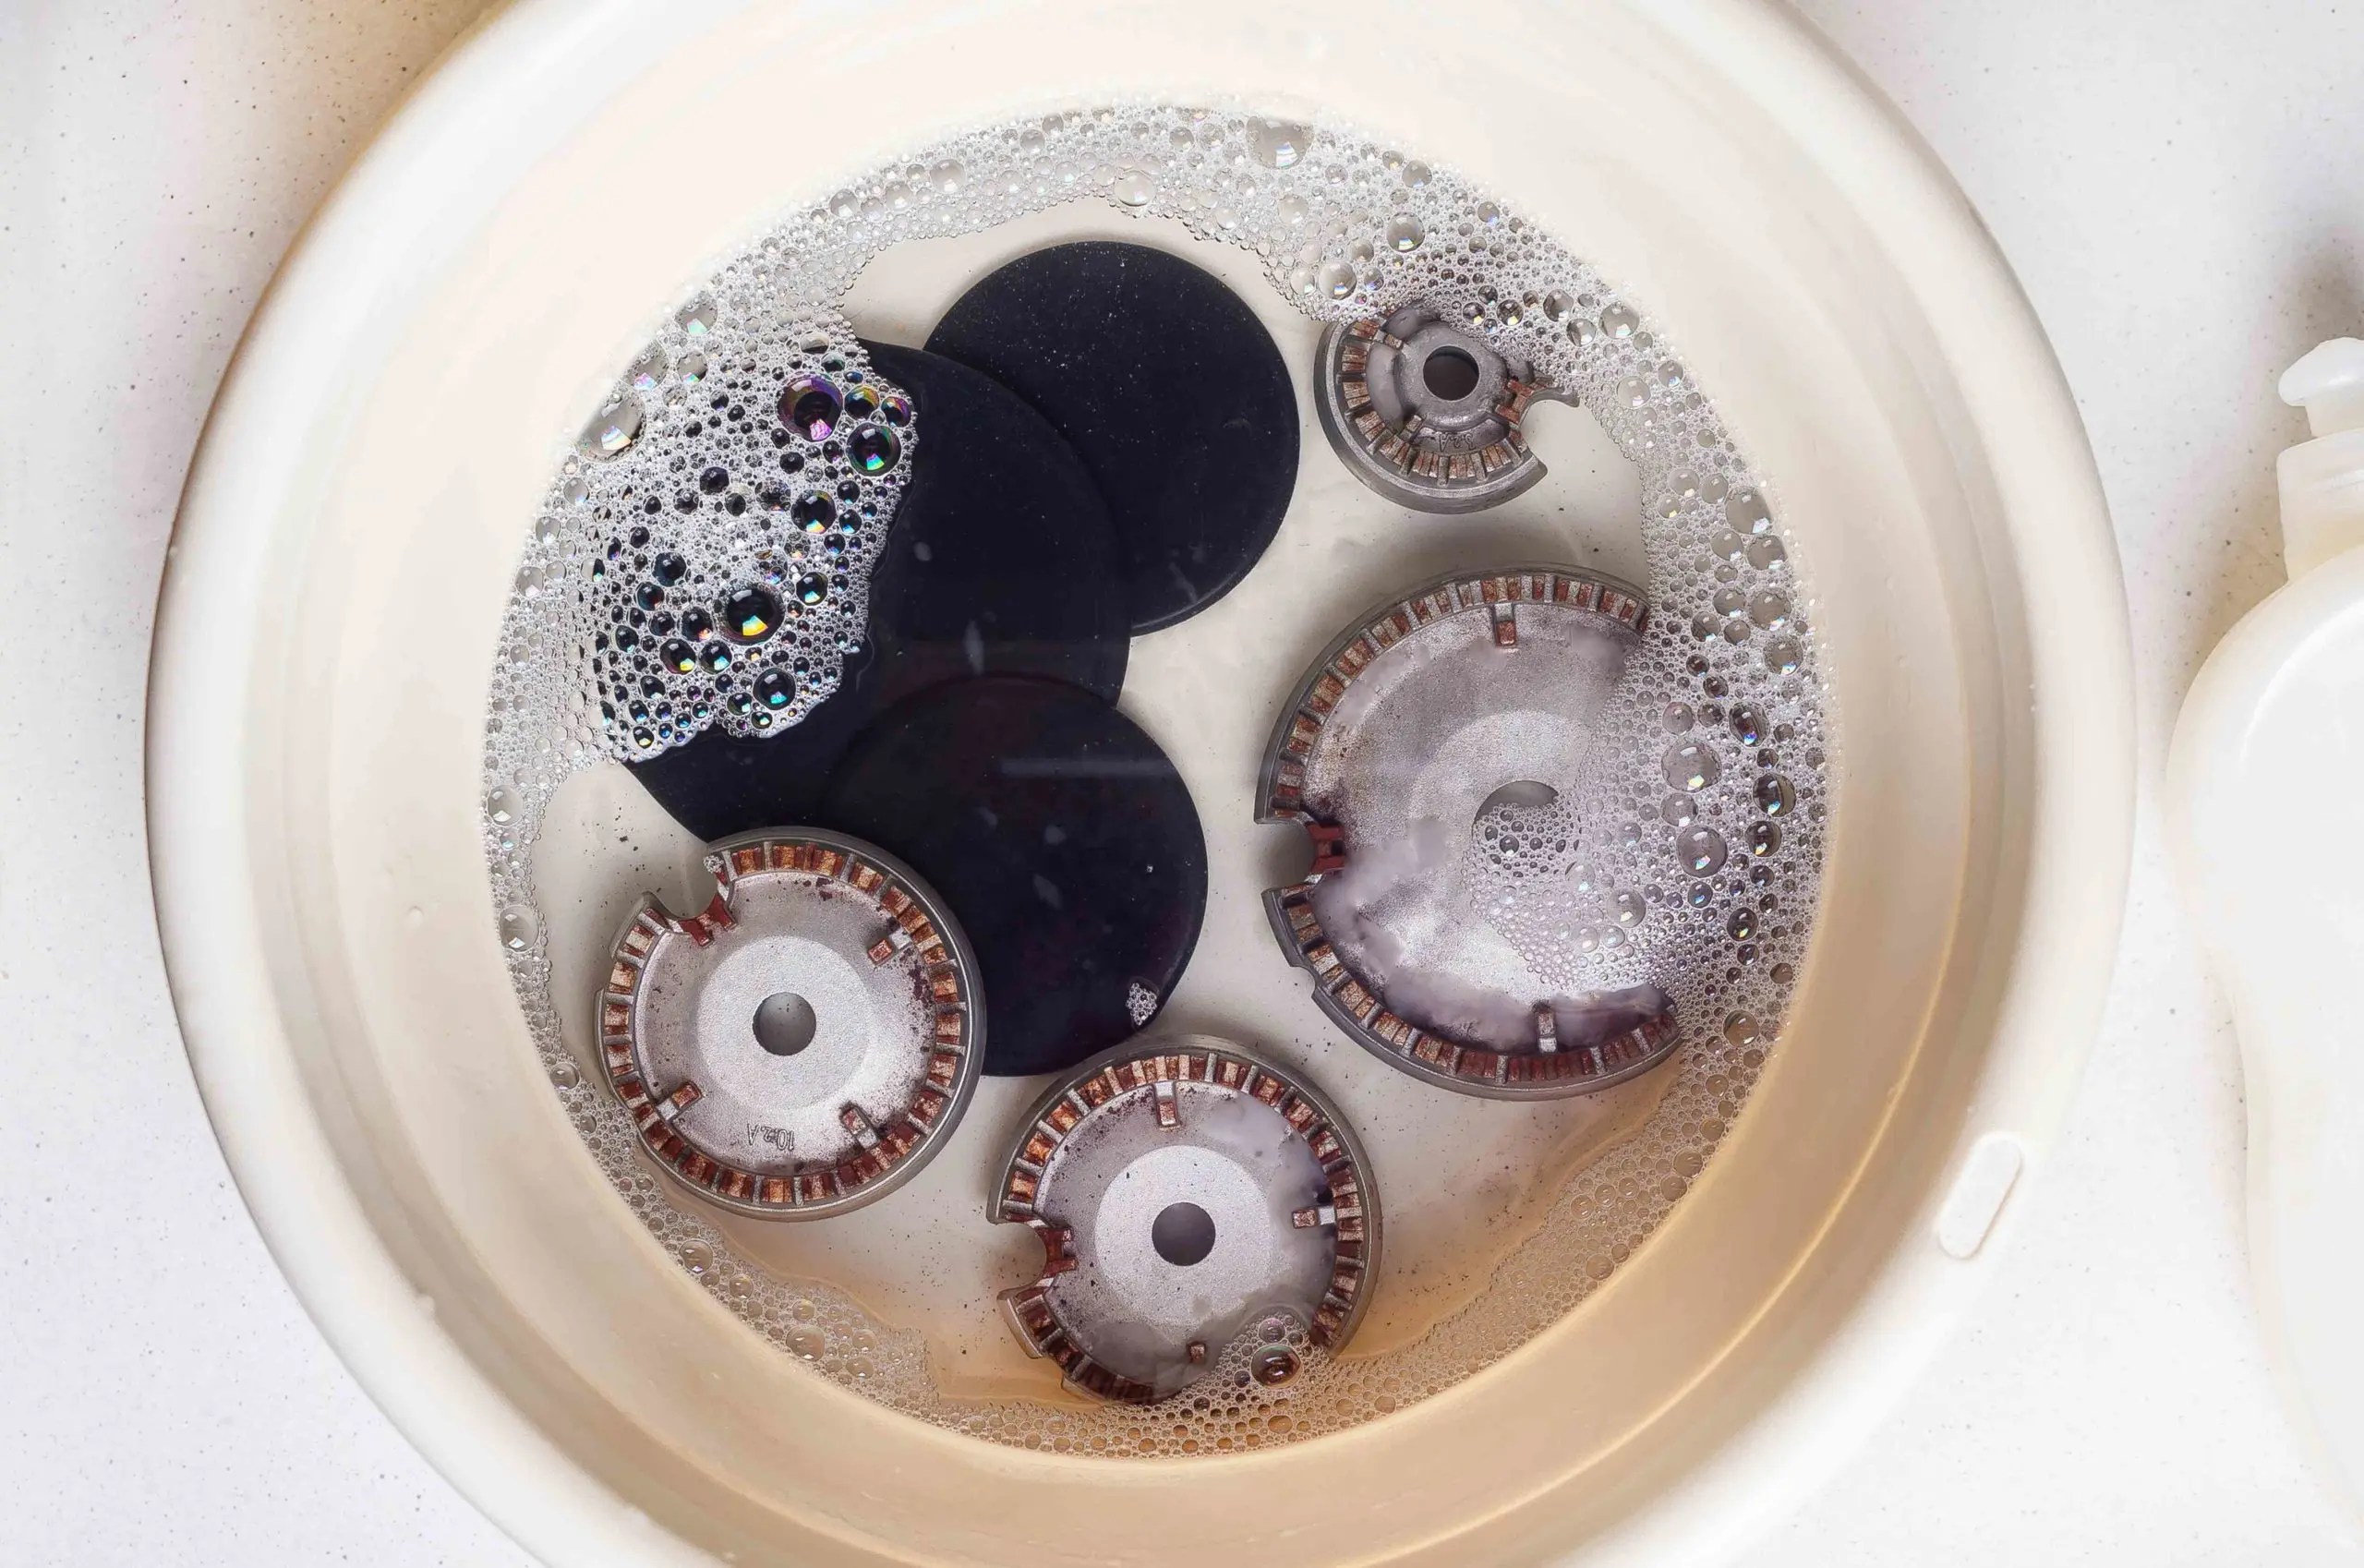
2. Soak them in warm, soapy water for at least 30 minutes. For stubborn grime, add baking soda or vinegar to the water.
3. Gently scrub the caps with a non-abrasive sponge or brush. Avoid using harsh scouring pads, which can scratch the enamel.
4. Rinse the caps thoroughly and dry them completely before returning them to the stovetop.FAQ:
Q1: How often should I clean my burner caps? A: Ideally, after every major cooking session, or at least weekly.
Q2: Can I put burner caps in the dishwasher? A: Check your manufacturer's instructions, as some materials are not dishwasher-safe.
Q3: What’s the best way to remove burnt-on food? A: Soaking in a baking soda and vinegar solution can work wonders.
Q4: Can I use commercial oven cleaners on burner caps? A: Avoid harsh chemicals. Stick to mild dish soap, baking soda, and vinegar.
Q5: How do I prevent grease build-up? A: Wipe down your stovetop regularly after each use.
Q6: My burner caps are discolored. Can they be restored? A: Try a paste of baking soda and water for gentle polishing.
Q7: Are there any natural cleaning solutions for burner caps? A: Yes, lemon juice and vinegar are excellent natural cleaning agents.
Q8: How can I keep my burner caps looking new? A: Regular cleaning and avoiding harsh scrubbing will prolong their life.
Tips and Tricks:
For stubborn grease, try a paste of baking soda and hydrogen peroxide. Let it sit for a few minutes before scrubbing.
A toothbrush is a great tool for reaching tight crevices and cleaning around the burner ports.
In conclusion, maintaining clean stovetop burner caps is not merely a matter of aesthetics, but a crucial aspect of kitchen hygiene, cooking efficiency, and overall appliance longevity. By incorporating regular cleaning into your kitchen routine, you can prevent the build-up of stubborn grime, extend the lifespan of your burner caps, and enjoy a more pleasant cooking experience. From the simple act of wiping down spills immediately to implementing a thorough cleaning routine, every effort contributes to a healthier and more efficient kitchen. Embrace these cleaning practices not as a chore, but as an investment in your cooking space and your well-being. Start today and experience the transformative power of sparkling clean burner caps – your stovetop (and your future self) will thank you.
Freaky text copy and paste
Dominate your league unlocking the top week 1 fantasy football defenses
Navigating loss with compassion costello runyon funeral home metuchen nj


